Let me start by saying that next year, I am only planting two pumpkin plants. Three produced way too many pumpkins which forced me to spend 6 hours one night canning them until the wee hours of the morning. By hour 4, I was cursing these gourds of evil. I still have 4 left - FOUR - but I'm saving 3 for carving (cause I don't want to can any more), and the other will I'll probably go nuts on with a baseball bat, a'la Office Space.
After that rousing endorsement for canning pumpkin, I'm sure you're busting out your pressure canner to make some for yourself, right? Also, I assume you enjoy being kicked in the face, and yearly pap exams?
Sorry water bath canners, according to the sources that be, pumpkin can only be canned in a pressure canner. This is the one I have, and I highly recommend it. Also, pumpkin must be canned in chunks, and not puree. If you strongly desire having pumpkin puree handy, you can make some and then freeze it.
Canning Pumpkin
Pumpkins (DUH), I planted Small Sugar this year; the taste is delicious.
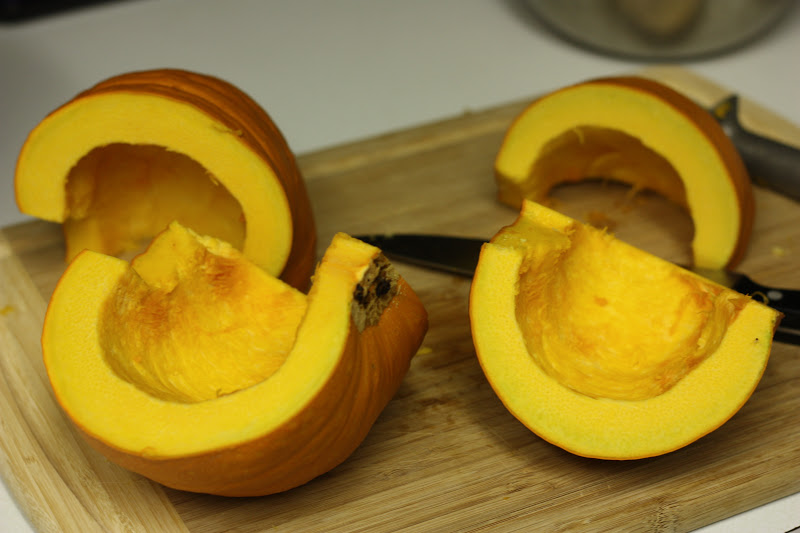
1) Cut your pumpkin in half, slightly on one side of the stem.
Total rookie mistake cutting the stem out of this one. On subsequent pumpkins, I just hacked them in half.
2) Grab as many seeds as you can to save for later. You're going to want to try my ranch pumpkin seeds! Then, use an ice cream scoop to get a good portion of the "goo" out. Don't worry about getting it all...we'll get to that later!
3) Lay one half of the pumpkin, gooey side down, and slice it like you're slicing a melon. Cutting it this way with the goo side facing you prevents the pumpkin from sliding around, and keeps your fingers in-tact.
4) Take one of the slices, and cut in to 1 inch chunks.
5) Take your knife, and cut the rind off of the chunk, and then the icky side as well. Put the pumpkin in a bowl of water with a little lemon juice or citric acid.
6) Now, we're gonna cook the chunks. Boil some water and add the pumpkin in batches for 2 minutes. Using a slotted spoon, remove the pumpkin and put in to a hot and sterilized canning jar (remember, you can put the clean jars in a lasagna pan half filled with water in a 300 degree oven to keep them hot AND save space on your stove).
7) Pour boiling water over the pumpkin chunks (now THAT is a great name for a band).
8) Wipe the rims with a clean rag, and put a clean and sterilized lid on top (remember, I put mine in the crockpot to keep hot and save space on my stove), and secure a ring.
9) You can follow the directions for pressure canning here. Pumpkin needs to be pressure canned at 11 pounds of pressure for 55 minutes (pints) and 90 minutes (quarts).
10) Remove from the canner after you've processed, and the pressure has dropped (it took almost 1 hour for the pressure to drop for me), and place on a towel in a corner of the kitchen where they can be undisturbed for a good 12 hours.
11) After they have completely cooled, check the seals, label, and store.
To use, simply open the jar (remind me some day to tell you a funny story about homecanned items I sent a friend who didn't know how to open them), and blend the chunks. I used my immersion blender and blended until smooth. One pint of "chunks" equaled 1 cup of puree.
To test out my puree, Jack and I made pumpkin chocolate chip muffins.
After they cooled, we took a bite, only to realize we had left the butter out. Oh well, they were still delicious!