It's officially after Thanksgiving, so now we are morally obligated to speak about the holidays. If you've been in any store since the Fourth of July, you've already seen Christmas decorations, but I prefer to let the turkey have it's day before flapping my mouth about Christmas, Hanukkah, etc.
Do you need a project to ease you in to the holiday season? Did you just get a sewing machine and barely know how to operate it? Do you only have 15 (ish) minutes to devote to making a gift?
Then this is the project for you!
Jack and I went to visit my bestie Anne in August. She pretty much has my dream kitchen, so I spend a lot of time in there whenever we visit. Being in the kitchen a lot means creating a lot of messy dishes. Anne has what might be seen as the silliest set up in the history of kitchens. I've already made fun of her for this, so please don't worry that I'm making a mockery of her on the internet.
Their dish strainer just sits right on top of the counter with nothing under it.
Beetleheaded, right?
Before we left, I knew I'd come home and make something to fix it, but I couldn't find a tape measure in her house. Using my purse as a guide, I noted the approximate measurements of her dish strainer, and then started thinking of a solution.
I wanted to send this to her as a "thank you for the awesome visit", but I'm a horrible slacker and didn't make this until last week. Go me.
Easy Peasy Dish Strainer Mats
-Piece of terrycloth, cut to your desired size
-Piece of fabric, cut to your desired size (I used cotton)
1) Lay out your ironed fabric on top of the terry cloth, placing the "pretty" side of the fabric on the terry.
2) Pin the fabric together on all sides. Leave about 5 inches of one side unpinned. We'll discuss why in a bit.
3) Using a basic stitch, sew the edges together.
Sorry, it's dark in the basement!
4) When everything is sewn together, except for that 5 inch opening, remove the item from the machine. Cut the corners off of the fabric.
You're digging my pajama pants, right? Don't lie. Jack picked those out for me.
5) Then, slowly turn the item inside out. This process takes some time. While you're doing it, it's going to look like Amanda Bynes - a hot mess.
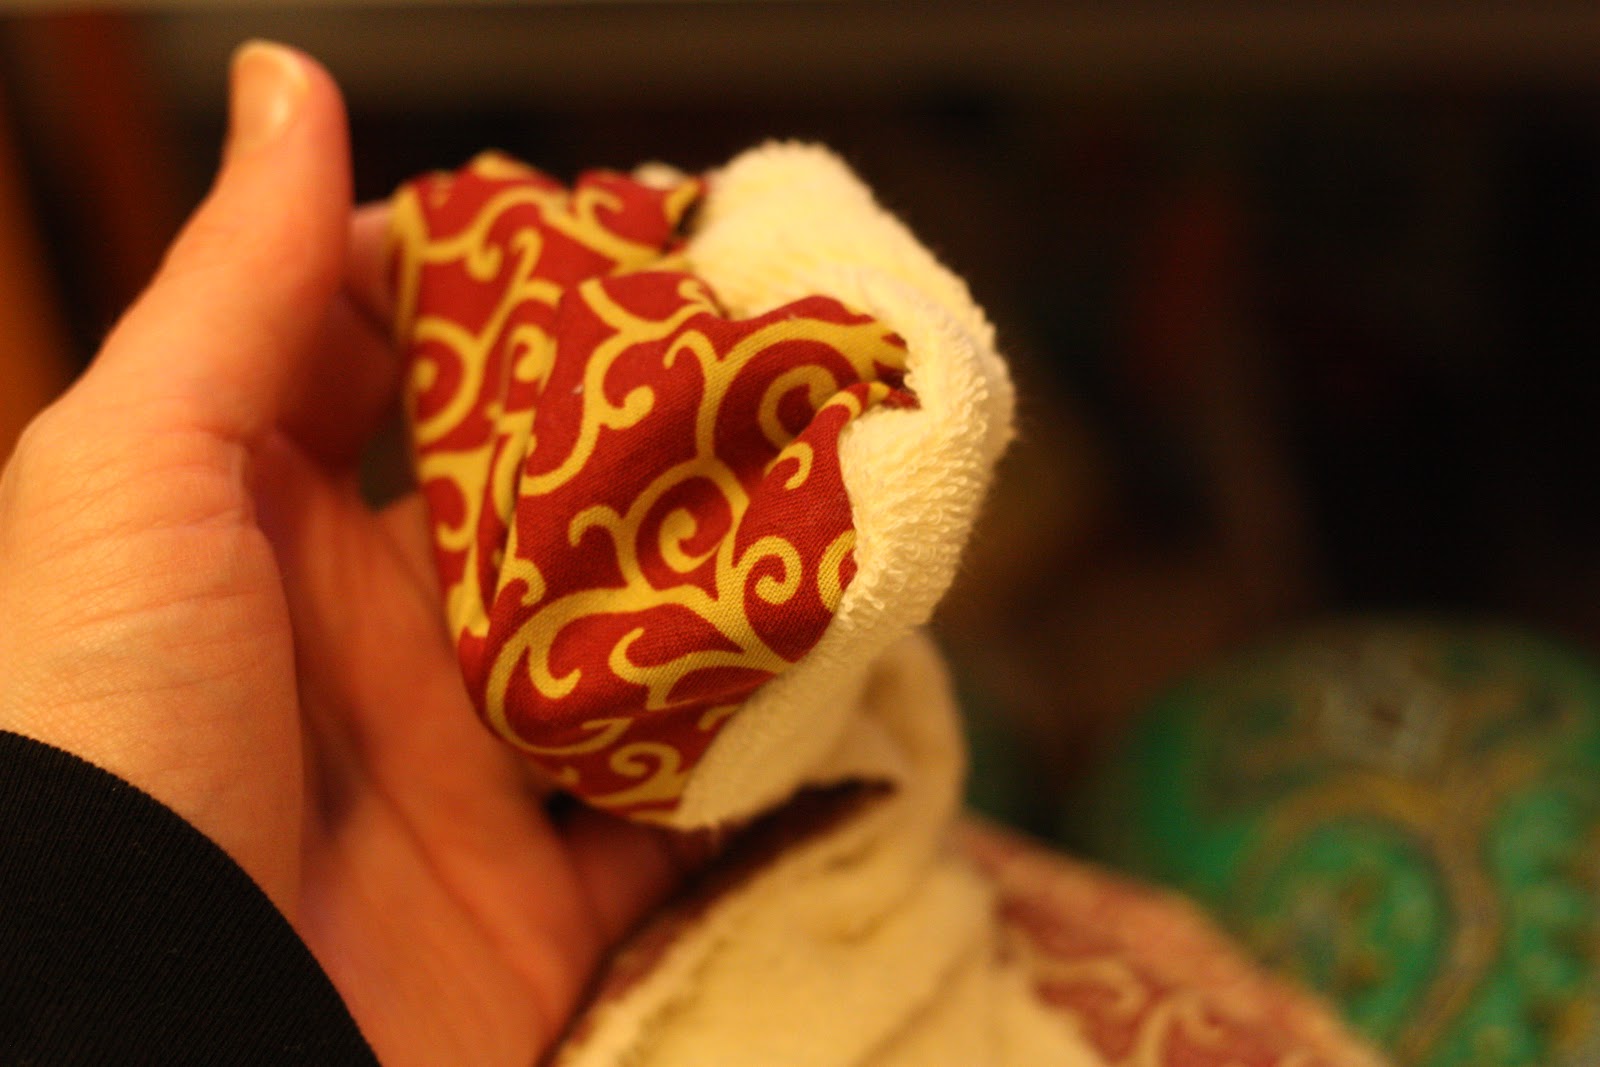
6) Once it's mostly turned inside out, use a chopstick or knitting needle, and push the corners out as much as you can.
7) Find the end that is not sewn together, and turn the ragged edges inside the item. You're just pinching them in there with your fingers.