Last Saturday, the whole family found ourselves at home. This is a very rare occurrence on a weekend, and while I was cooking up a delicious dinner, I had the idea that we needed to celebrate with dessert.
But which dessert?
I flipped through my cookbook, and found this recipe that I had printed out years ago. As in, like six years ago. Mmm...madelines. I once made myself sick off of eating so many of them, and yet I still love them. That is the sign of a great cookie!
I remember the recipe calling for lemon zest. Well, I didn't have any. What I did have were satsumas. With a declaration of "oh what the hell", I set off on a journey that ended with one of the best cookies I've ever made. Troy declared them "dangerous".
Oh, and I also made them a little bit healthier.
Yeah. You're welcome.
You need a special pan to make these in to the shape of the madeline. I can't speak to what they'd turn out like without the pan. I will say the batter is delicious as is, so you maybe don't even need to bake these. I've seen madeline pans at Goodwill often, so check there too!
Whole Wheat Orange and Chocolate Madelines
Based off of this allrecipes submission.
2 eggs
1/2 tsp vanilla (try homemade)
zest of 1 satsuma
1/2 cup (1 stick) of butter, melted and cooled
3/4 cup of whole wheat pastry flour
1 heaping tblsp vital wheat gluten
1 cup powdered sugar, preferrably organic
1/2 tsp baking powder
1) Melt the butter, and stick it in the fridge to cool down. And then go and heat your oven to 375 degrees.
2) Zest your satsuma in to your mixing bowl. I used my microplane that I love dearly, but any small grater will work!
3) Add the vanilla and eggs to the mixing bowl.
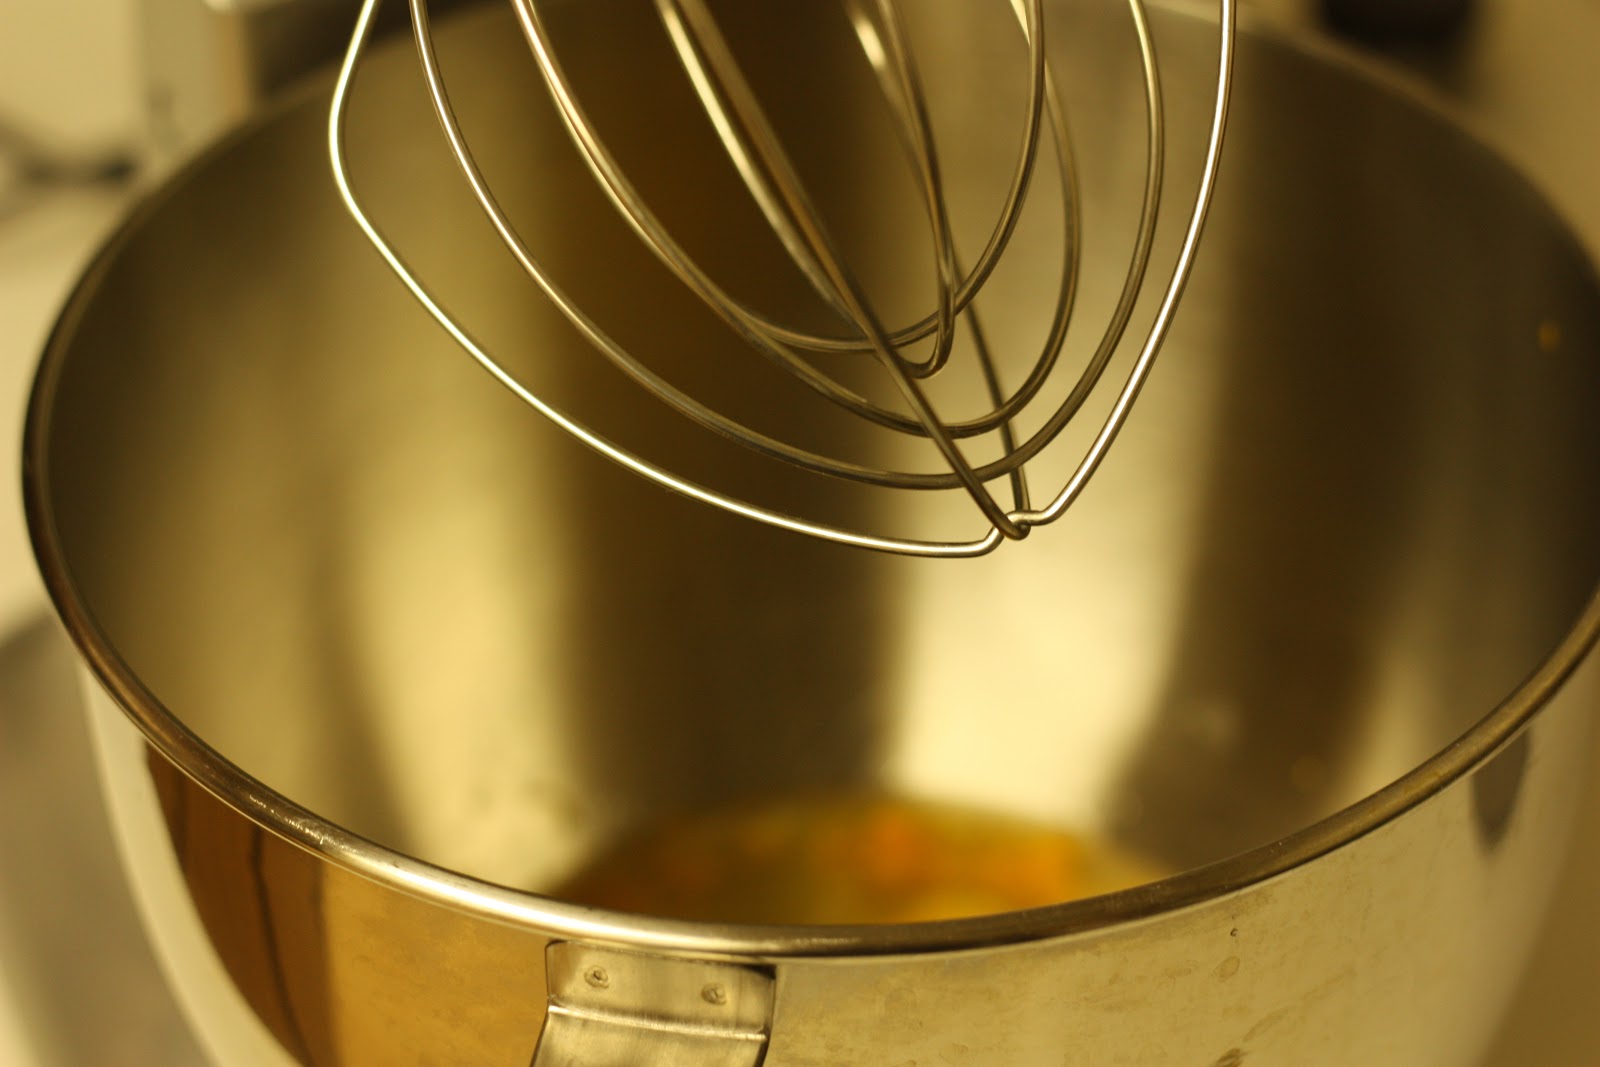
4) Mix for 5 minutes with the whisk attachment.
5) Slowly add the powdered sugar.
6) Mix for another 5 minutes.
7) Mix up your dry ingredients (flour, vital wheat gluten, and baking powder), and add to the egg and sugar mixture slowly, about 1/4 cup at a time. Mix until just incorporated.
8) Add your melted/cooled butter, and mix until just incorporated. Don't go overboard scraping the bowl out with a spatula. Set the bowl aside cause we're going to use it later!
Your mixture should now be thick and fluffy looking. That's right, fluffy.
9) Use a pastry brush, and spread some of the melted butter left in the bowl in your madeline molds.
10) Then, sprinkle a bit of flour over everything. As you can see, being neat and tidy while I cook is uber important to me. (insert fart noise here).
11) Spoon a scant tablespoon of batter in to each mold.
To get the batter spread out, I use an ancient french technique called "Le Finger."
12) Bake for 10 minutes. Let sit in the molds for one minute, and then remove and let cool on a baking rack.
Now, you can enjoy as is. Or, you can take it one step further, and make a great cookie an awesome cookie.
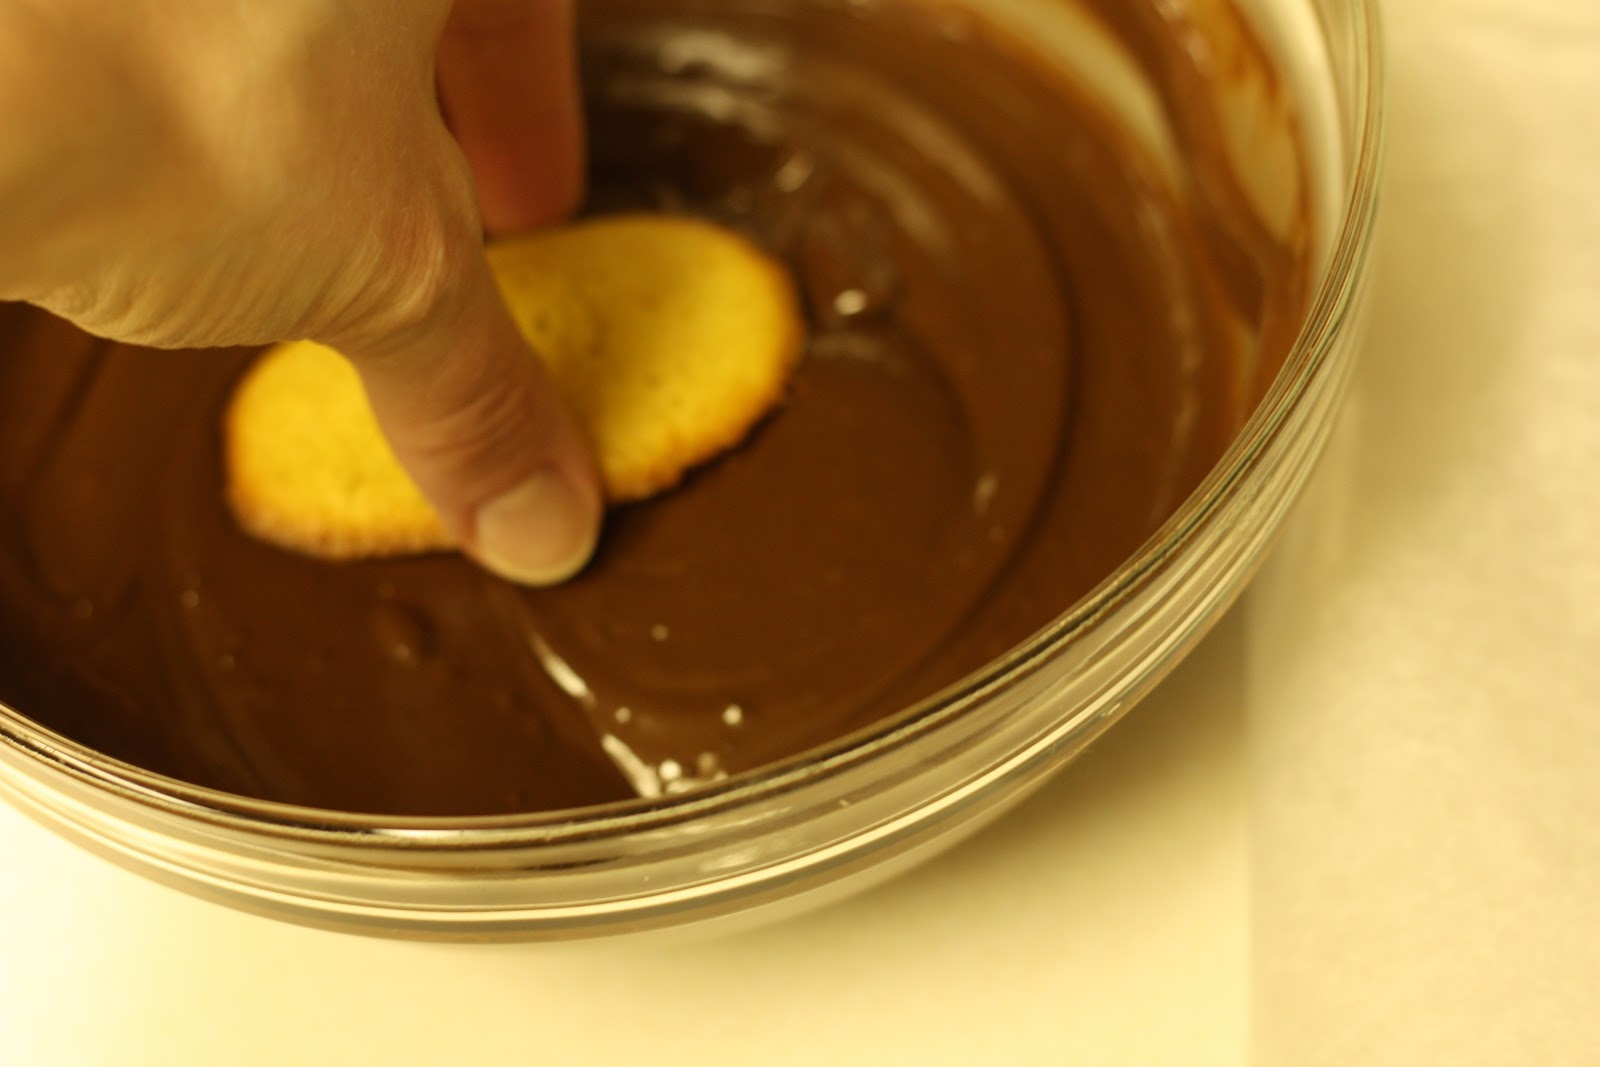
13) Melt some dark chocolate chips, and a scoop of shortening.
14) Dip one side in the chocolate, and lay on a tray lined with parchment. I like to put them in the freezer to allow the chocolate to set.
I bet you wish you could see a lovely staged photo of these cookies in a pretty bowl, right? Well, sorry. I don't stage photos. I didn't have time, and my hands were full from double fisting these bad boys in to my grub hole.
I'm thinking next time, I'll sub out the vanilla extract for peppermint, and sprinkle crushed candy canes over the chocolate before it dries.
Heads up, this post contains Amazon Affiliate links. If you purchase the item through my link, I get a tiny little kickback. But I only recommend things I truly love myself.
Labels: Desserts